27.10.10

Daring Bakers - The best doughnuts

Donuts // Doughnuts

Where did time go this Summer and Autumn? I'm not sure. I'll be back soon with the news on what I've been doing lately. But today is Daring Baker's day! The October 2010 Daring Bakers challenge was hosted by Lori of Butter Me Up. Lori chose to challenge DBers to make doughnuts. She used several sources for her recipes including Alton Brown, Nancy Silverton, Kate Neumann and Epicurious. Thanks, Lori!

Yeast doughnuts
Recipe adapted from Alton Brown

Milk 1.5 cup / 360 ml
Vegetable Shortening 1/3 cup / 80 ml / 70 gm / 2.5 oz (can substitute butter, margarine or lard)
Active Dry Yeast 4.5 teaspoon (2 pkgs.) / 22.5 ml / 14 gm / ½ oz
Warm Water 1/3 cup / 80 ml (95°F to 105°F / 35°C to 41°C)
Eggs, Large, beaten 2
White Granulated Sugar ¼ cup / 60 ml / 55 gm / 2 oz
Table Salt 1.5 teaspoon / 7.5 ml / 9 gm / 1/3 oz
Nutmeg, grated 1 tsp. / 5 ml / 6 gm / ¼ oz
All Purpose Flour 4 2/3 cup / 1,120 ml / 650 gm / 23 oz + extra for dusting surface
Canola Oil DEPENDS on size of vessel you are frying in – you want THREE (3) inches of oil (can substitute any flavorless oil used for frying)

Place the milk in a medium saucepan and heat over medium heat just until warm enough to melt the shortening. (Make sure the shortening is melted so that it incorporates well into the batter.)
Place the shortening in a bowl and pour warmed milk over. Set aside.
In a small bowl, sprinkle the yeast over the warm water and let dissolve for 5 minutes. It should get foamy. After 5 minutes, pour the yeast mixture into the large bowl of a stand mixer and add the milk and shortening mixture, first making sure the milk and shortening mixture has cooled to lukewarm.
Add the eggs, sugar, salt, nutmeg, and half of the flour. Using the paddle attachment of your mixer (if you have one), combine the ingredients on low speed until flour is incorporated and then turn the speed up to medium and beat until well combined.
Add the remaining flour, combining on low speed at first, and then increase the speed to medium and beat well.
Change to the dough hook attachment of the mixer and beat on medium speed until the dough pulls away from the bowl and becomes smooth, approximately 3 to 4 minutes (for me this only took about two minutes). If you do not have a dough hook/stand mixer – knead until the dough is smooth and not sticky.
Transfer to a well-oiled bowl, cover, and let rise for 1 hour or until doubled in size.
On a well-floured surface, roll out dough to 3/8-inch (9 mm)thick. (Make sure the surface really is well-floured otherwise your doughnuts will stick to the counter).
Cut out dough using a 2 1/2-inch (65 mm) doughnut cutter or pastry ring or drinking glass and using a 7/8-inch (22 mm) ring for the center whole. Set on floured baking sheet, cover lightly with a tea towel, and let rise for 30 minutes.
Preheat the oil in a deep fryer or Dutch oven to 365 °F/185°C.
Gently place the doughnuts into the oil, 3 to 4 at a time. Cook for 1 minute per side or until golden brown (my doughnuts only took about 30 seconds on each side at this temperature).
Transfer to a cooling rack placed in baking pan. Allow to cool for 15 to 20 minutes prior to glazing, if desired.

My thoughts on the challenge:
- I've made 1/4 the recipe, and it was good enough for 4 of us (2 large doughnuts each);
- I've made the recipe by hand with a wooden spoon and a little kneading. Worked like a charm!
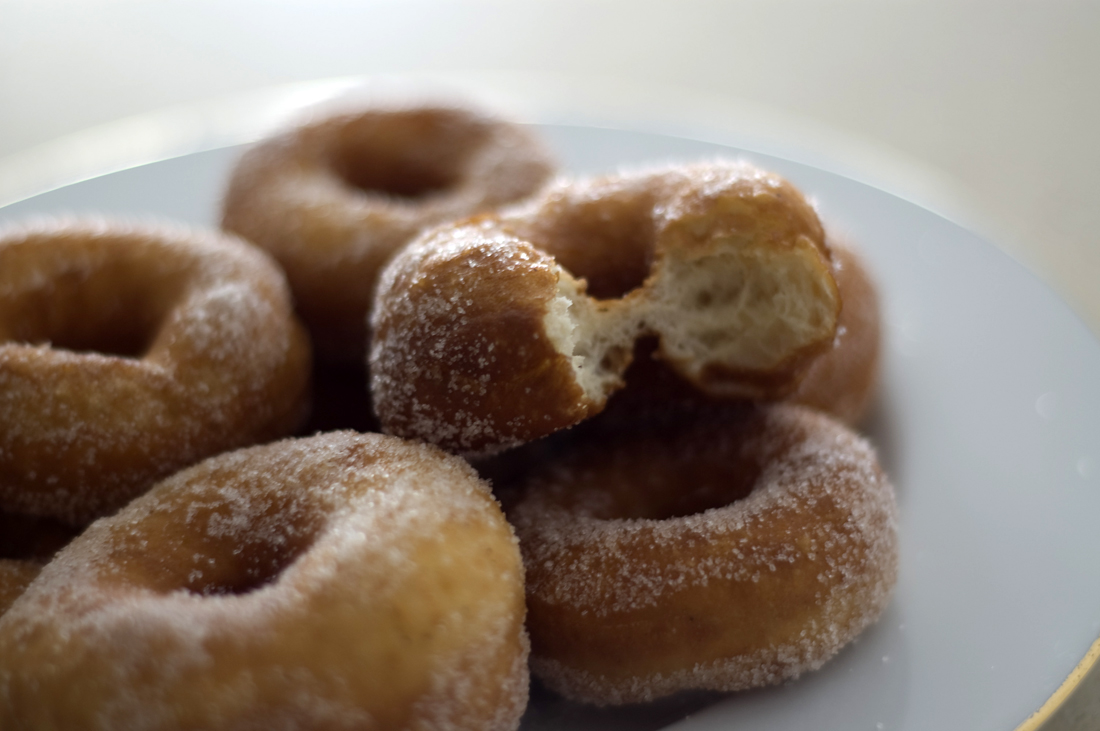
_ I've said before deep-frying is not something I'd do every week or every month for that matter. In the end I was quite happy with the outcome: crispy yeast doughnuts coated with sugar and a dash of cinnamon. :)

27.8.10

Daring Bakers - Delicious petit fours

petit fours

August means holidays, seaside, picnics and being away from home. It also means very needed rest and time to do nothing except walk, read and sleep after such a stressing school year. This August wasn't very different with a getaway in between to check some exhibitions and see some dear friends. Petit fours make the perfect little treat for hot weather like we had this Summer, and I absolutely love brown butter pound cake! Thanks for choosing such a yummy theme, Elissa!

The August 2010 Daring Bakers’ challenge was hosted by Elissa of 17 and Baking. For the first time, The Daring Bakers partnered with Sugar High Fridays for a co-event and Elissa was the gracious hostess of both. Using the theme of beurre noisette, or browned butter, Elissa chose to challenge Daring Bakers to make a pound cake to be used in either a Baked Alaska or in Ice Cream Petit Fours. The sources for Elissa’s challenge were Gourmet magazine and David Lebovitz’s “The Perfect Scoop”.

Petit fours

Brown Butter Pound Cake
Adapted from the October 2009 edition of Gourmet
19 tablespoons (9.5 oz) (275g) unsalted (sweet) butter
2 cups (200g) sifted cake flour (not self-rising; sift before measuring) (See “Note” section for cake flour substitution)
1 teaspoon (5g) baking powder
1/2 teaspoon (3g) salt
1/2 cup (110g) packed light brown sugar
1/3 (75g) cup granulated sugar
4 large eggs
1/2 teaspoon pure vanilla extract

Preheat the oven to 325°F/160°C and put a rack in the center. Butter and flour a 9”x9” (23cmx23cm) square pan. Place the butter in a 10” (25cm) skillet over medium heat. Brown the butter until the milk solids are a dark chocolate brown and the butter smells nutty. (Don’t take your eyes off the butter in case it burns.) Pour into a shallow bowl and chill in the freezer until just congealed, 15-30 minutes.

Whisk together cake flour, baking powder, and salt. Beat the brown butter, light brown sugar, and granulated sugar in an electric mixer until light and fluffy, about 2 minutes. Beat in the eggs one at a time, mixing well, and then the vanilla extract. Stir in the flour mixture at low speed until just combined. Scrape the batter into the greased and floured 9”x9” (23cmx23cm) square pan. Smooth the top with a rubber spatula and rap the pan on the counter. Bake until golden brown on top and when a toothpick inserted into the center comes out clean, about 25 minutes. Cool in the pan 10 minutes. Run a knife along the edge and invert right-side-up onto a cooling rack to cool completely.

Chocolate Glaze (For the Ice Cream Petit Fours)

9 ounces (250g) dark chocolate, finely chopped
1 cup (250 ml) heavy (approx 35% butterfat) cream
1 1/2 tablespoons (32g) light corn syrup, Golden syrup, or agave nectar
2 teaspoons (10ml) vanilla extract

Stir the heavy cream and light corn syrup in a small saucepan over medium heat until it comes to a boil. Remove from heat and add the dark chocolate. Let sit 30 seconds, then stir to completely melt the chocolate. Stir in the vanilla and let cool until tepid before glazing the petit fours.

David Lebovitz's vanilla ice cream here

Assemble the Ice Cream Petit Fours

Line a 9”x9” (23cmx23cm) pan with plastic wrap, so that no sides of the pan are exposed and so there is some extra plastic wrap hanging off the sides. Spread 1 ¾ to 2 cups (450ml to 500ml) ice cream into the pan. Cover with more plastic wrap and freeze several hours.

Once the brown butter pound cake has completely cooled, level the top with a cake leveler or a serrated knife. Then split the cake in half horizontally to form two thin layers. Unwrap the frozen ice cream. Flip out onto one of the layers of cake and top with the second layer of cake. Wrap well in plastic wrap and return to the freezer overnight.

Make the chocolate glaze (see above.) While the glaze cools, trim ¾” (2cm) off each side of the ice cream cake to leave a perfectly square 7.5” (19cm) ice cream cake. Cut the cake into twenty five petit fours, each 1.5”x1.5” (4cmx4cm). Glaze the petit fours one at a time: place a petit four on a fork and spoon chocolate glaze over it. Place the petit fours on a parchment-lined baking sheet and return to the freezer for one hour.

My thoughts on the challenge:
- My time this August was very limited. I went for the petit fours just because I could make them in small portions and use the rest of the cake to something else.
- The ice cream, chocolate sauce, and brown butter pound cake recipes were very straight forward.
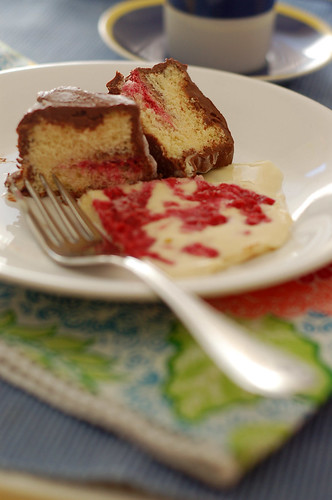
- I've made David's vanilla ice cream before, so this time I added a raspberry swirl to have more colour and a different flavour.

27.6.10

Daring Bakers - Beautiful pavlova

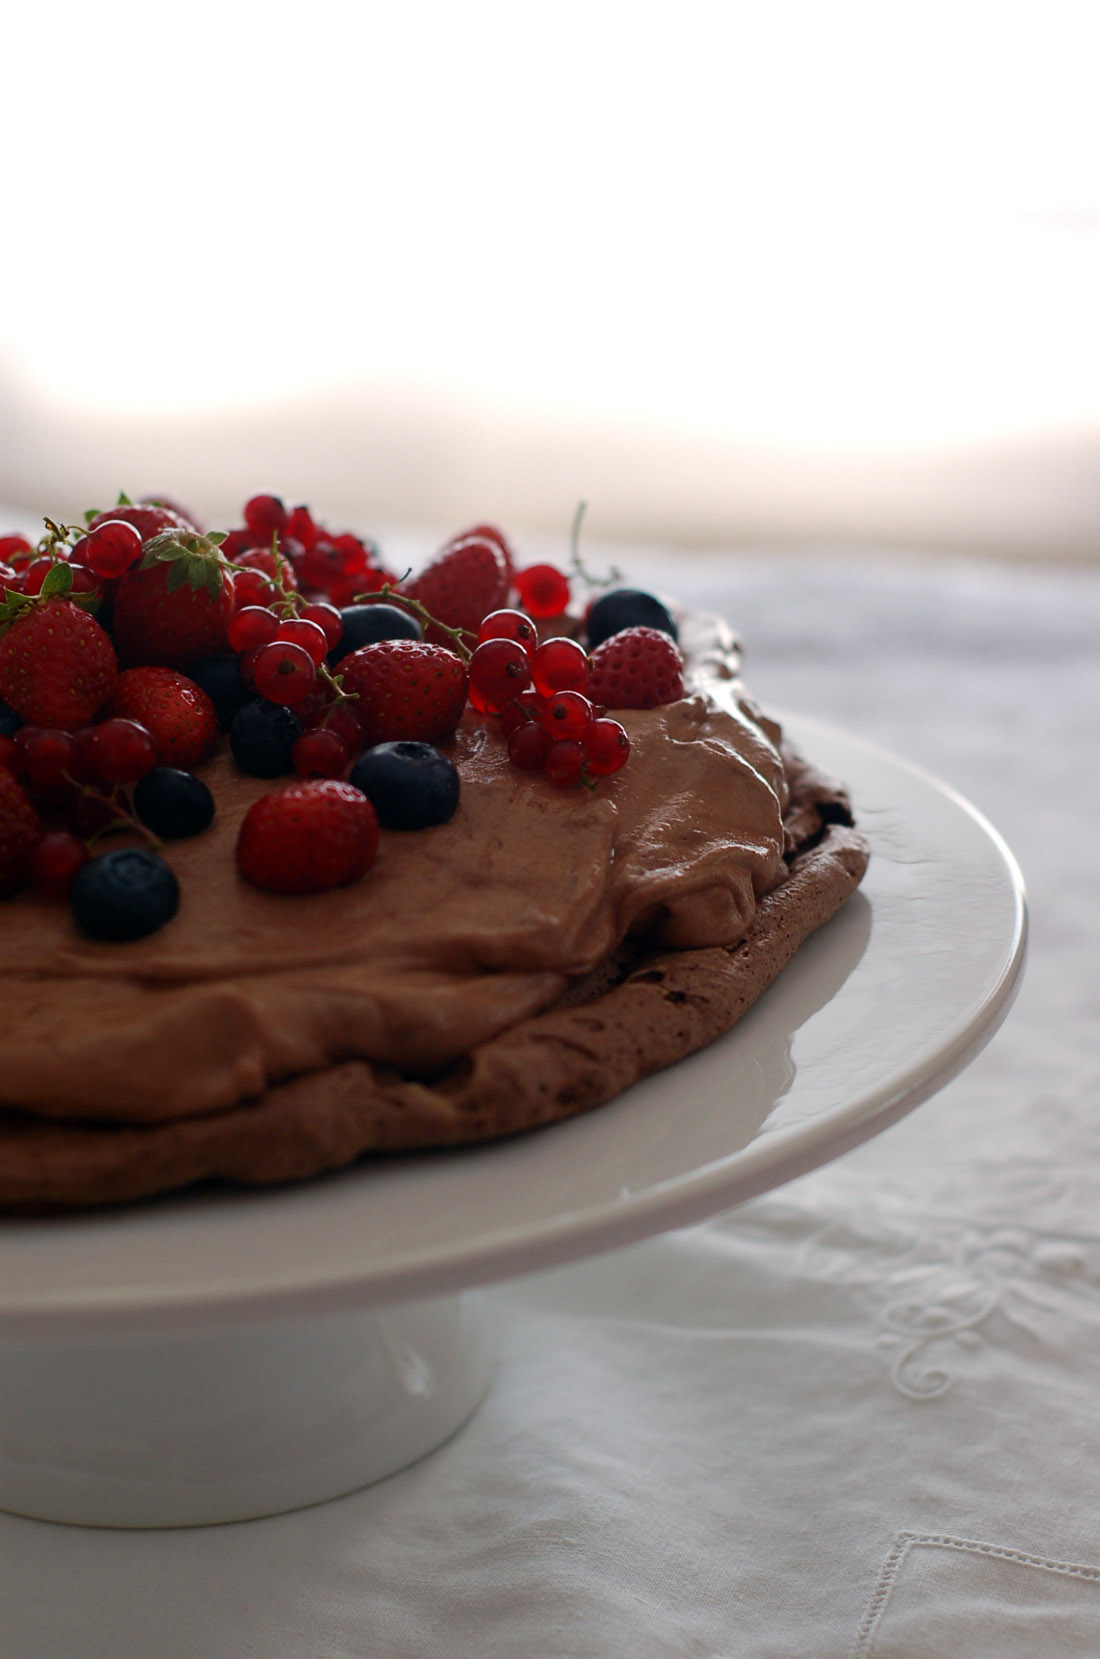
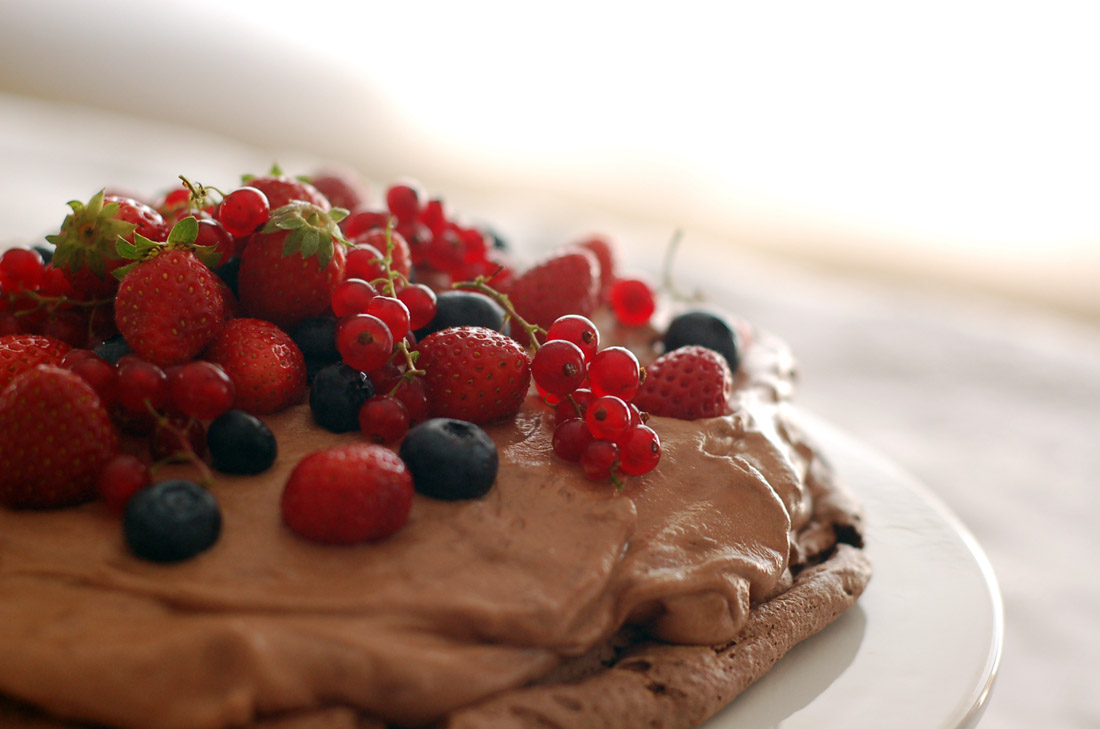
Chocolate Pavlova

I wished days could be longer when June comes by... Every year, this month arrives with tons of things to be done at work, short nights and very long hours. If only there could be more time for the good things of life. In between I've watched a few Wimbledon matches, cheered for Portugal at the World Cup and shared a lovely chocolate pavlova with dear friends. All in all, not a bad month!

The June 2010 Daring Bakers’ challenge was hosted by Dawn of Doable and Delicious. Dawn challenged the Daring Bakers’ to make Chocolate Pavlovas and Chocolate Mascarpone Mousse. The challenge recipe is based on a recipe from the book Chocolate Epiphany by Francois Payard

Chocolate Pavlova

Chocolate Pavlova

Chocolate Meringue (for the chocolate Pavlova):

3 large egg whites
½ cup plus 1 tbsp (110 grams) white granulated sugar
¼ cup (30 grams) confectioner’s (icing) sugar
1/3 cup (30 grams) cocoa powder

Place a rack in the center of the oven and preheat to 200º F (95º C) degrees. Line two baking sheets with silpat or parchment and set aside. Put the egg whites in a bowl and whip until soft peaks form. Increase speed to high and gradually add granulated sugar about 1 tbsp at a time until stiff peaks form. (The whites should be firm but moist.) Sift the confectioner’s sugar and cocoa powder over the egg whites and fold the dry ingredients into the white. Fill a pastry bag with the meringue. Pipe the meringue into whatever shapes you desire. Alternatively, you could just free form your shapes and level them a bit with the back of a spoon. ake for 2-3 hours until the meringues become dry and crisp. Cool and store in an airtight container for up to 3 days.

Chocolate Mascarpone Mousse (for the top of the Pavlova base):

1 ½ cups (355 mls) heavy cream (cream with a milk fat content of between 36 and 40 percent)
grated zest of 1 average sized lemon
9 ounces (255 grams) 72% chocolate, chopped
1 2/3 cups (390 mls) mascarpone
pinch of nutmeg
2 tbsp (30 mls) Grand Marnier (or orange juice)

Put ½ cup (120 mls) of the heavy cream and the lemon zest in a saucepan over medium high heat. Once warm, add the chocolate and whisk until melted and smooth. Transfer the mixture to a bowl and let sit at room temperature until cool. Place the mascarpone, the remaining cup of cream and nutmeg in a bowl. Whip on low for a minute until the mascarpone is loose. Add the Grand Marnier and whip on medium speed until it holds soft peaks. Mix about ¼ of the mascarpone mixture into the chocolate to lighten. Fold in the remaining mascarpone until well incorporated. Fill a pastry bag with the mousse. Again, you could just free form mousse on top of the pavlova.

Mascarpone Cream (for drizzling):

1 recipe crème anglaise
½ cup (120 mls) mascarpone
2 tbsp (30 mls) Sambucca (optional)
½ cup (120 mls) heavy cream

Prepare the crème anglaise. Slowly whisk in the mascarpone and the Sambucca and let the mixture cool. Put the cream in a bowl and beat with electric mixer until very soft peaks are formed. Fold the cream into the mascarpone mixture.

Crème Anglaise (a component of the Mascarpone Cream above):

1 cup (235 mls) whole milk
1 cup (235 mls) heavy cream
1 vanilla bean, split or 1 tsp pure vanilla extract
6 large egg yolks
6 tbsp (75 grams) sugar

In a bowl, whisk together the egg yolks and sugar until the mixture turns pale yellow.
Combine the milk, cream and vanilla in a saucepan over medium high heat, bringing the mixture to a boil. Take off the heat. Pour about ½ cup of the hot liquid into the yolk mixture, whisking constantly to keep from making scrambled eggs. Pour the yolk mixture into the pan with the remaining cream mixture and put the heat back on medium. Stir constantly with a wooden spoon until the mixture thickens enough to lightly coat the back of a wooden spoon. DO NOT OVERCOOK.
Remove the mixture from the heat and strain it through a fine mesh sieve into a bowl. Cover and refrigerate until the mixture is thoroughly chilled, about 2 hours or overnight.

Assembly:
Pipe the mousse onto the pavlovas and drizzle with the mascarpone cream over the top. Dust with confectioner’s sugar and fresh fruit if desired.

My thoughts on the challenge:
- I've decided to go for a large dessert instead of individual pavlovas;
- my meringue didn't rise as much as I'd like to;
- half batch for the mascarpone chocolate mousse was more than in enough for the meringue (full recipe);
- Mascarpone Cream for drizzling was really good - I also made only half batch;
- I've added red fruits and I really think it made all the difference to balance the very rich pavlova.

Check all the wonderful pavlovas of fellow DB's here.

27.5.10

Daring Bakers - Ma [mini] pièce montée

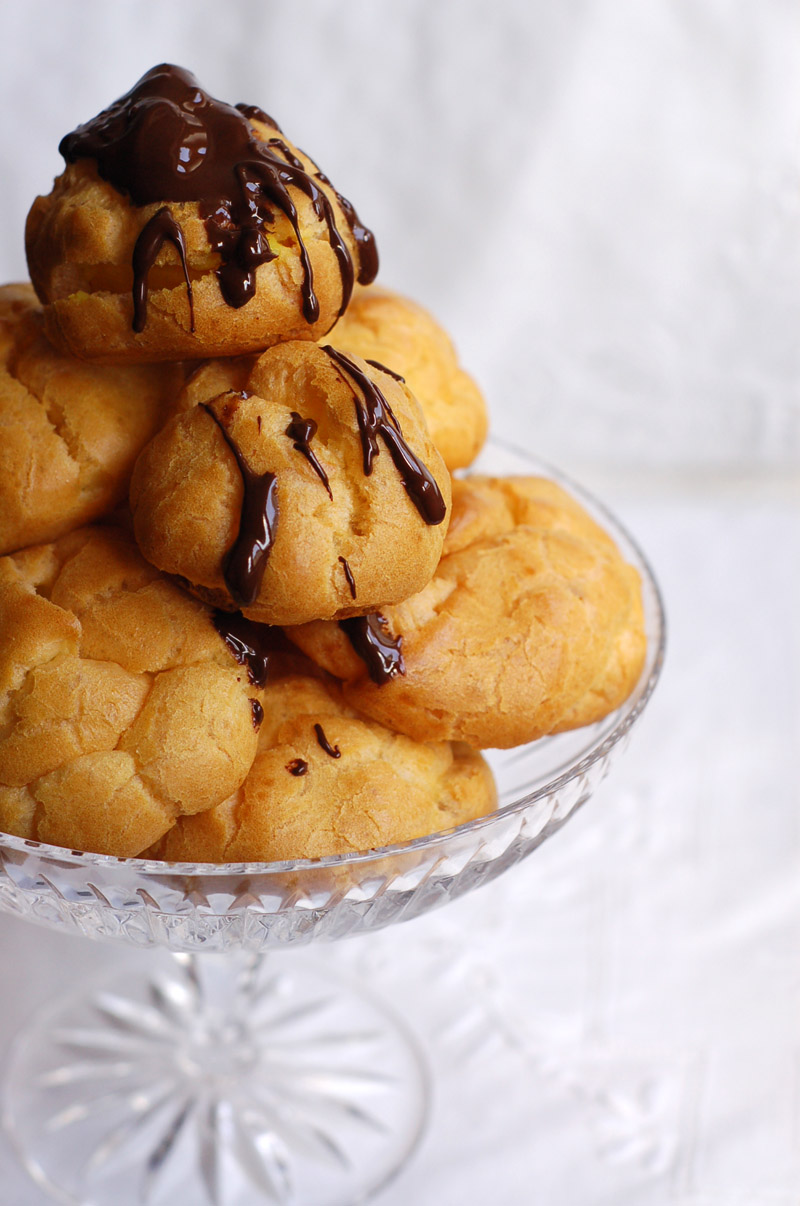
Mini pièce montée

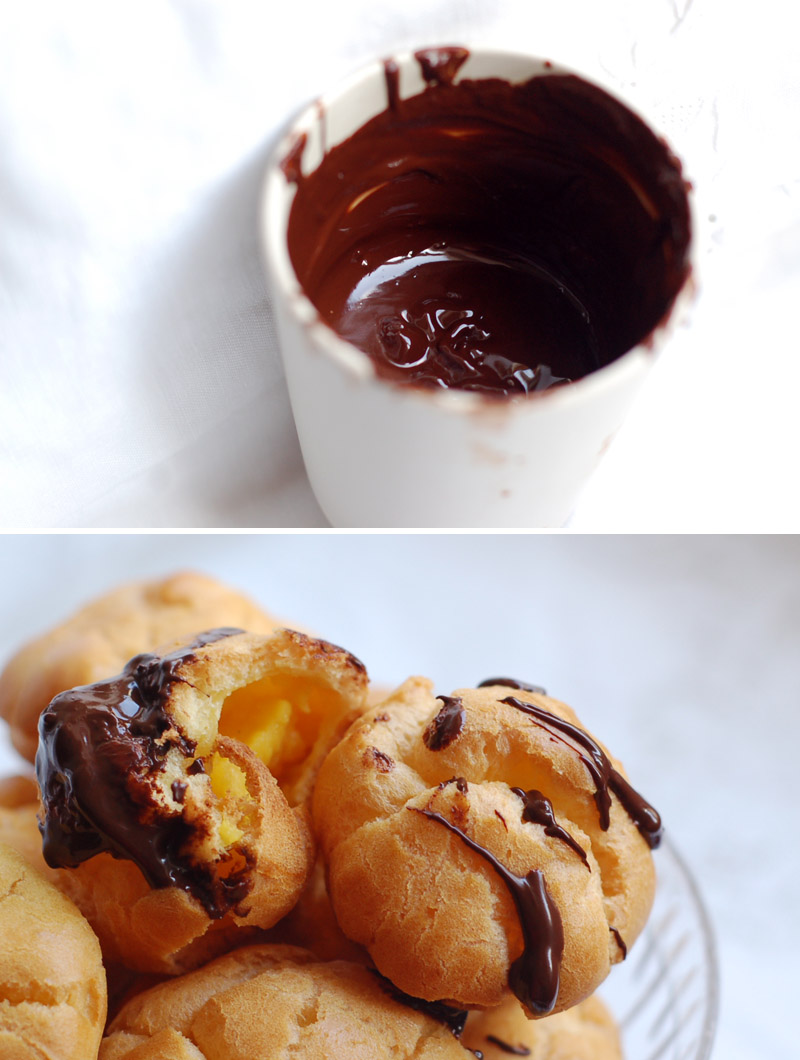
I have a thing for choux. I love everything made from choux pastry - savoury or sweet, filled or simply dusted with icing sugar, with a glaze or on its own. I've made choux before but never dared to think of a pièce montée... Unfortunately we didn't have any celebration this month, and a croquembouche is a bit too much for the two of us. So I made a mini pièce montée with a passionfruit vanilla filling + a chocolate glaze.

The May 2010 Daring Bakers’ challenge was hosted by Cat of Little Miss Cupcake. Cat challenged everyone to make a piece montée, or croquembouche, based on recipes from Peter Kump’s Baking School in Manhattan and Nick Malgieri.

choux+chocolate

Patê a Choux

makes about 28

¾ cup (175 ml.) water
6 Tbsp. (85 g.) unsalted butter
¼ Tsp. salt
1 Tbsp. sugar
1 cup (125 g.) all-purpose flour
4 large eggs

For Egg Wash: 1 egg and pinch of salt

Pre-heat oven to 425◦F/220◦C degrees. Line two baking sheets with parchment paper. Combine water, butter, salt and sugar in a saucepan over medium heat. Bring to a boil and stir occasionally. At boil, remove from heat and sift in the flour, stirring to combine completely. Return to heat and cook, stirring constantly until the batter dries slightly and begins to pull away from the sides of the pan. Transfer to a bowl and stir with a wooden spoon 1 minute to cool slightly. Add 1 egg. The batter will appear loose and shiny. As you stir, the batter will become dry-looking like lightly buttered mashed potatoes. It is at this point that you will add in the next egg. Repeat until you have incorporated all the eggs.

Piping:
Transfer batter to a pastry bag fitted with a large open tip (I piped directly from the bag opening without a tip). Pipe choux about 1 inch-part in the baking sheets. Choux should be about 1 inch high about 1 inch wide. Using a clean finger dipped in hot water, gently press down on any tips that have formed on the top of choux when piping. You want them to retain their ball shape, but be smoothly curved on top. Brush tops with egg wash (1 egg lightly beaten with pinch of salt).

Baking:
Bake the choux at 425◦F/220◦C degrees until well-puffed and turning lightly golden in color, about 10 minutes. Lower the temperature to 350◦F/180◦C degrees and continue baking until well-colored and dry, about 20 minutes more. Remove to a rack and cool. Can be stored in a airtight box overnight.

Filling:
When you are ready to assemble your piece montée, using a plain pastry tip, pierce the bottom of each choux. Fill the choux with pastry cream using either the same tip or a star tip, and place on a paper-lined sheet. Choux can be refrigerated briefly at this point while you make your glaze.

Passionfruit Vanilla Crème Patissiere (Half Batch)

1 cup (225 ml.) whole milk
2 Tbsp. cornstarch
6 Tbsp. (100 g.) sugar
1 large egg
2 large egg yolks
2 Tbsp. (30 g.) unsalted butter
1 Tsp. Vanilla
2 passionfruit

Dissolve cornstarch in ¼ cup of milk. Combine the remaining milk with the sugar in a saucepan; bring to boil; remove from heat. Beat the whole egg, then the yolks into the cornstarch mixture. Pour 1/3 of boiling milk into the egg mixture, whisking constantly so that the eggs do not begin to cook. Return the remaining milk to boil. Pour in the hot egg mixture in a stream, continuing whisking.Continue whisking until the cream thickens and comes to a boil. Remove from heat and beat in the butter and vanilla. Add passionfruit pulp and gently fold. Pour cream into a stainless steel/ceramic bowl. Press plastic wrap firmly against the surface. Chill immediately and until ready to use.

Chocolate Glaze

8 ounces/200 g. finely chopped chocolate (use the finest quality you can afford as the taste will be quite pronounced) Melt chocolate in microwave or double boiler. Stir at regular intervals to avoid burning. Use the best quality chocolate you can afford. Use immediately.

Assembly of your Piece Montée:
You may want to lay out your unfilled, unglazed choux in a practice design to get a feel for how to assemble the final dessert. For example, if making a conical shape, trace a circle (no bigger than 8 inches) on a piece of parchment to use as a pattern. Then take some of the larger choux and assemble them in the circle for the bottom layer. Practice seeing which pieces fit together best.

Once you are ready to assemble your piece montée, dip the top of each choux in your glaze, and start assembling on your cake board/plate/sheet. Continue dipping and adding choux in levels using the glaze to hold them together as you build up. When you have finished the design of your piece montée, you may drizzle with remaining glaze or use ribbons, sugar cookie cut-outs, almonds, flowers, etc. to decorate.

My thoughts on the challenge:
- I made half a batch for the choux.
- My glaze is bittersweet chocolate as I adore it.
- The passionfruit cream was perfect. Although very subtle it added a nice tone to the combination.
- All in all a very satisfying challenge!

Check all the awesome versions at the Daring Kitchen.

19.5.10

Spring colours

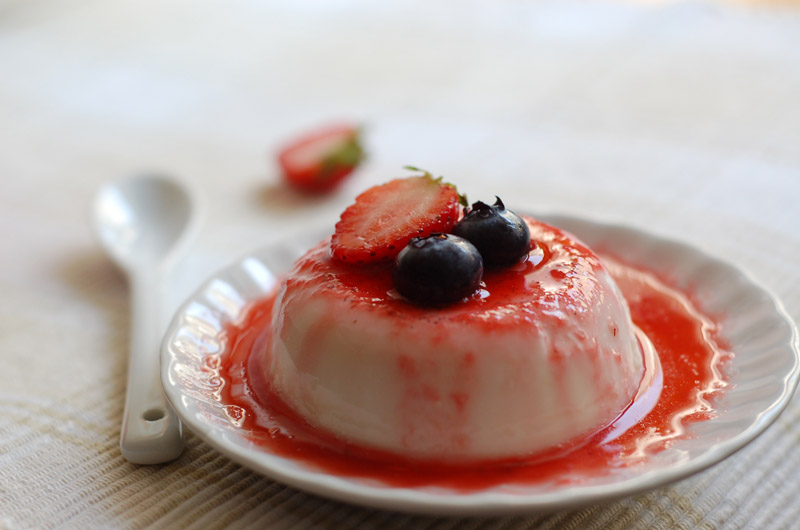
Panna Cotta with Strawberry Coulis

Winter was rigorous, Spring has been nonexistent around here. It's the middle of May and I'm yet to change my closet, moving winter coats and sweaters until the next cold season. Little dresses, light clothes or sandals are a far sight while temperatures refuse to go up and rain move to different latitudes. Today we have a glorious sun and the promise of a springy day... I'll let you know if my lighter clothes had the chance to see daylight or if I've been mislead by the beautiful sunshine outside. One perfect way to celebrate a sunny day is a colourful dessert. There's nothing easier to make than a panna cotta. C'mon Spring!

Panna Cotta with Strawberry Coulis

Panna Cotta with Strawberry Coulis
Adapted slightly from Laura Zavan, Dolce, Marabout.

serves 4

200ml double cream
250ml whole milk
3 gelatine leaves
1/2 vanilla bean, split lengthwise and seeds scraped
40g granulated sugar

Soak the gelatine leaves in a little cold water until soft. Heat the double cream, milk and sugar in a saucepan. Add vanilla pod and seeds and bring to a simmer. Remove from heat. Squeeze the water out of the gelatine leaves, then add to the pan. Stir until the gelatine has dissolved. Remove the bean (clean, dry and use into sugar for flavour and aroma).

Lightly oil the cups with a neutral-tasting oil. Pour the milk mixture and leave to cool. Place into the fridge for 2 hours, until set.

for the coulis:

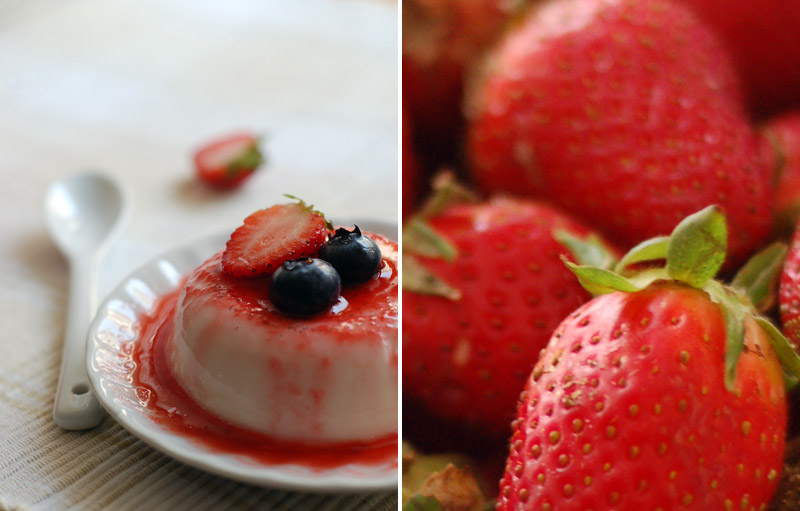
200g strawberries, hulled and halved (reserve 2 or 3 smaller, prettier ones to serve)
25g caster sugar (or more, if your strawberries are on the tart side)
1 tbsp sweet white wine
1 tsp lemon zest (optional)

Bring the wine and sugar to the boil, stirring to dissolve the sugar. Add the strawberries and lemon zest (if using) and cook for 3 minutes or until soft. Pass the sauce through a sieve into a bowl and discard (eat!) the fruit pulp.

Run a sharp knife around the edge of each panna cotta and unmold onto a serving plate. Spoon over the sauce and garnish with the reserved strawberries and extra blueberries (optional).

10.5.10

On broad beans and coriander flowers

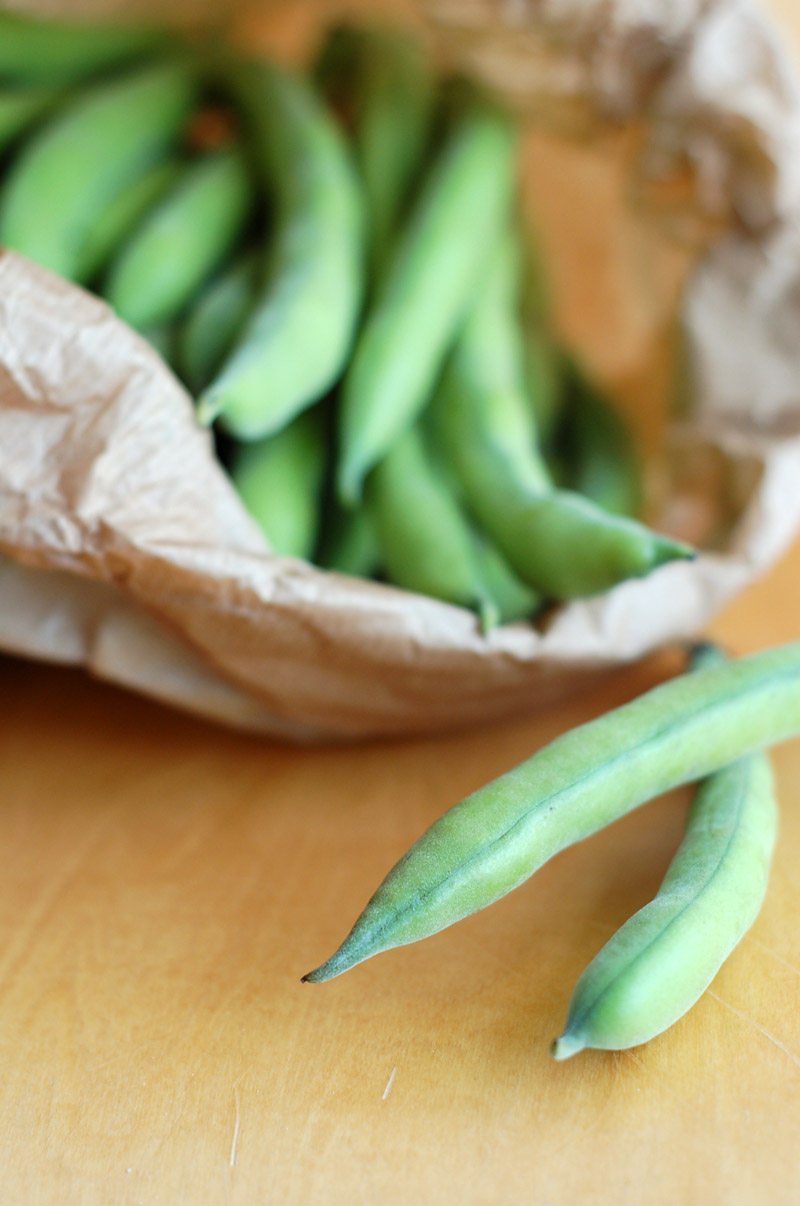
Broad beans

It's that time of the year: broad beans are everywhere with their vibrant colour, soft texture and perfect flavour. If you're crazy about broad beans like I am, you sure understand all the fuss about them. The season is short! Of course if you dislike broad beans (like my mom) you won't really see all the joy that comes with a large bag and the promise of long hours shelling and peeling beans. No matter how unexciting the process is, I seem to never have enough -- creamy soups, crunchy salads or comfy stews, vegetarian or with a little bacon but always paired with the most perfect bouquet of aromatic herbs: garlic leaves, leek tops, mint and coriander flowers. Oh the joy!

Get a bowl and a spoon, I'm serving soup.

Creamy Broad Bean Soup with a Poached Egg

Creamy Broad Bean Soup with a Poached Egg

Serves 4-6

1,2Kg fresh broad beans (in the pod)
1 medium leek (or 2 small)
1 medium onion
2 tbsp olive oil
950ml vegetable stock
small bunch coriander (flowered, if you can get them)
few mint sprigs (optional)

4 fresh large eggs, organic
1 tbsp white wine vinegar
freshly ground black pepper

Shell broad beans and remove the skin (yes, it's time consuming but necessary to get the velvety texture and bright green colour). Reserve. Make a bouquet with the leek top, coriander and mint. Tie the bunch together with kitchen twine. Coarsely chop the onion and leek's white part. Put olive oil in a large pot, add onion and leek and cook for 3 minutes, until soft. Add prepared broad beans and the bouquet. Pour the stock and cook, covered, for 10-12 minutes. Remove the herb bouquet. Using a hand blender, blend until creamy. Check seasoning. Add a little salt if necessary.

Bring a small pan of water to the boil. When the water boils, add the vinegar. Lower the water to a slow simmer. Crack the egg into a small bowl. Carefully pour the egg into the boiling water. Cook for about 3 minutes. Remove with a a slotted spoon to a plate lined with paper kitchen towel. Repeat with the remaining eggs.

Toast 4 slices of bread. Pour the soup into 4 large bowls. Put one poached egg and a toast in each one. Ground some black pepper on the egg. Add a dash of olive oil and serve.

27.4.10

Daring Bakers - Age of steam!

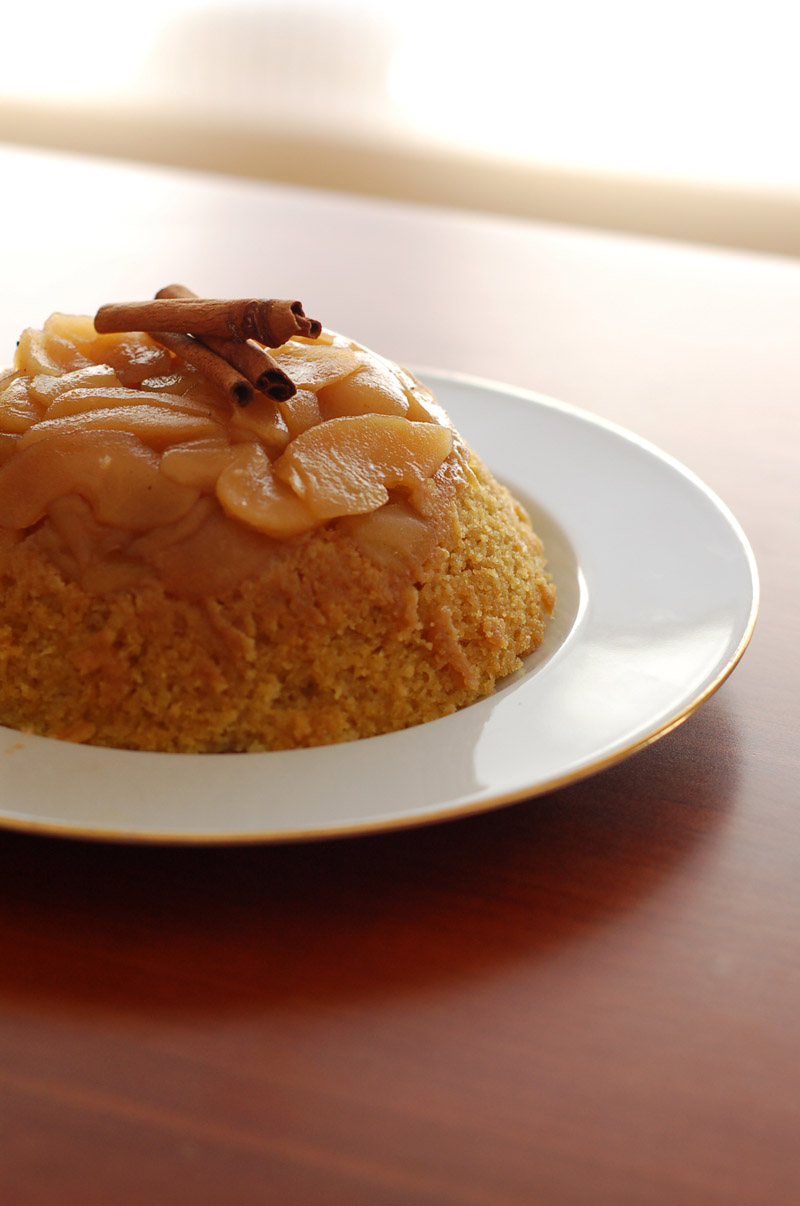
Apple Cinnamon Steamed Pudding

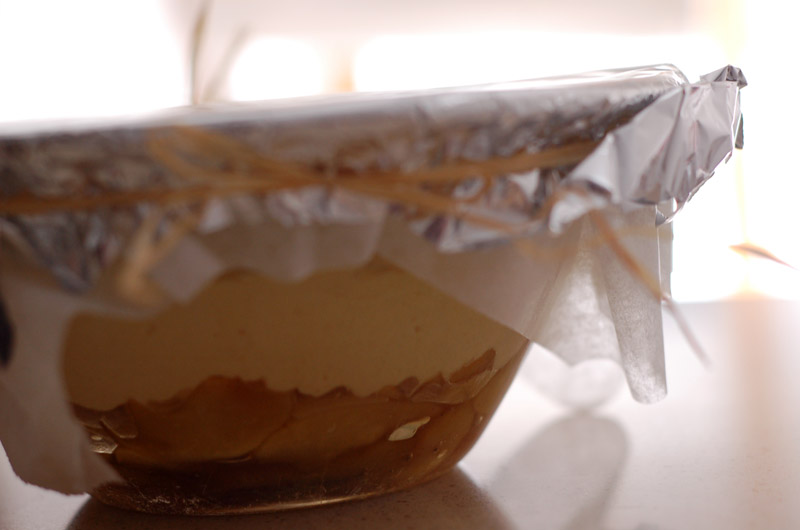
In my opinion British Cuisine is sometimes underrated. I love the simple approach to food, both savoury and sweet. Perhaps because I tend to think of some British traditional puddings when I'm craving something sweet as comfort food: a warm crumble, a splash of custard or a spoonful of sponge pudding. And Britons know their way around puddings, that's for sure! The April 2010 Daring Bakers’ challenge was hosted by Esther of The Lilac Kitchen. She challenged everyone to make a traditional British pudding using, if possible, a very traditional British ingredient: suet. I've decided for a butter based version of steamed pudding with a fruit base.

A butter based version of steamed pudding

Apple Cinnamon Steamed Pudding
Adapted from BBC Good Food

350g apples, sliced
200g caster sugar
1/2 tsp ground cinnamon
1/2 tsp ground ginger
125g unsalted butter
few drops natural vanilla extract
2 medium eggs, beaten
175g self-raising flour

Cook the sliced apples with 75g of the sugar and the spices over a gentle heat for 2-3 minutes until just starting to soften. Remove from heat.
Grease a 900ml pudding basin. Put butter and remaining sugar in a bowl and cream together. Stir in vanilla extract, then beat in eggs, a little at a time. Sift in flour and carefully fold into the mixture.
Spoon fruit into the bottom of the basin, then spoon the sponge mixture on top and level off surface.
Butter a piece of greaseproof paper slightly bigger than the top of the pudding basin. Make a pleat in the centre and secure over the top of basin. Repeat with a piece of foil, then secure the whole thing with string. Place in a pan half filled with simmering water. Cover and cook for 1½ hrs, checking regularly that the pan does not boil dry. Remove cover, invert the pudding onto a plate, then carefully lift off the pudding basin. Serve with crème fraîche or single cream.

My thoughts on the challenge:
- Suet is not my thing so I've decided to go with butter instead;
- This recipe is a charm to make, and very versatile if you use a different fruit/spice combination like I did;
- The cooking technique is quite easy if you follow instructions. Also called Bain Marie, it requires only a pot of simmering water and a bit of attention;
- I've served mine with plain greek yoghurt.

Have a look at all the wonderful puddings at Daring Kitchen!

12.4.10

Food for uncertain weather

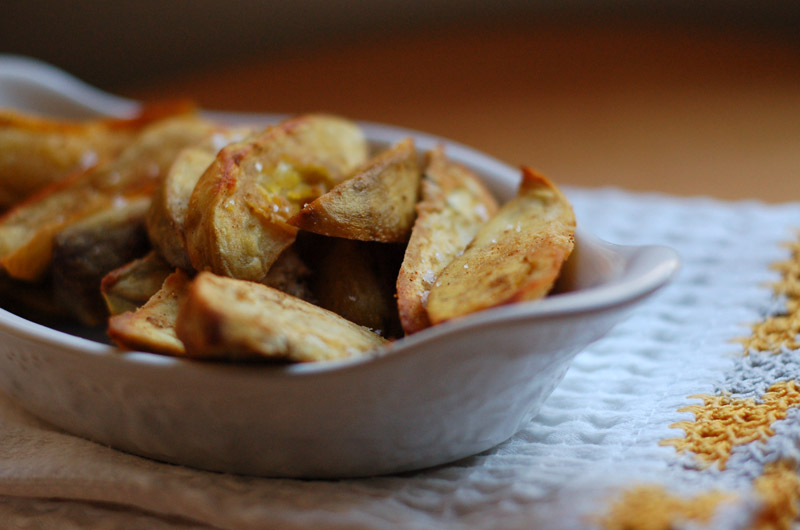
Spicy sweet potato chips

Spring is not the best of seasons.
Cold and flu are two good reasons;
wind and rain and other sorrow,
warm today and cold tomorrow.

Its author unknown, its style almost puerile - these verses are anything but an ode to Spring! I love shinny bright springy days and green and white trees with the promises of summer fruit as much as I love the beautiful white-ish flowers of my thyme. But that doesn't stop me from being unsure with the weather and crave comforting oven dishes: food for uncertain weather! I also pack a sweater and an umbrella every time I leave the house, just in case... Nothing like enjoy the moment and be ready for whatever the weather brings!

Sweet potato chips + Thyme flowers

Baked Sweet Potato Chips

serves 2

4 medium sweet potatoes, peeled and cut into wedges
salt, ground cumin, paprika, ground ginger, to taste (about 1/3 tsp each)
1 tbsp olive oil
fleur de sel to sprinkle

Preheat oven to 200ºC (400ºF). In a large bowl, combine the potatoes, olive oil, and spice mixture. Toss until potatoes are evenly coated. Arrange potatoes in a single layer in an ovenproof shallow dish. Bake for 25-30 minutes until golden and crisp. Sprinkle with fleur de sel. Serve immediately.

5.4.10

City of your dreams?

MACBA Barcelona

To some it must have palm trees and open waters reaching for the infinite, to other it's just memories sedimented, coming and going like the sea. The city of your dreams is where you want it to be, at your doorstep or on the other side of the world - the exact spot where your brain becomes your heart, and as they say keeps passions forever.

[Pictured above is the work of John Baldessari in the exhibition Pure Beauty presented by MACBA - Museu d'Art Contemporani de Barcelona. All Barcelona photos by Mr. Taster, aka the husband.]

Barcelona

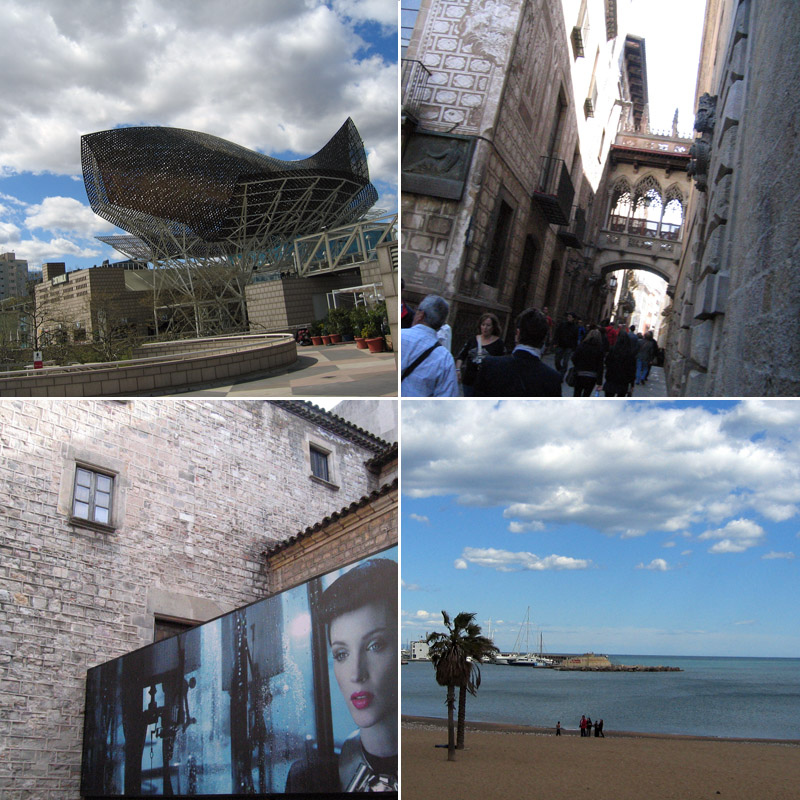
It was in another century that Mr. Taster and I fell in love with Barcelona. Still living fame and fortune of having held the Olympics a couple of years before, the city was full of interest and life. We were twenty years old and an entire life to be back. In our bag we packed Frank Gehry's fish, the narrow streets of Gothic Quarter, the atrium at the Textile Museum and the sea view from the Olympic Port [all above]. We also took the hot chocolate aroma and some spoonfuls of crema catalana with the promise to taste it again and again. Fifteen years went by whilst we (re)arranged memories to make them perfect. Last week we arrived to a very different Barcelona - one we didn't quite remember. Strange, long lost memory. No city survives the expectations built over a decade and a half of wait. Our only hope was for the passion to happen once more...

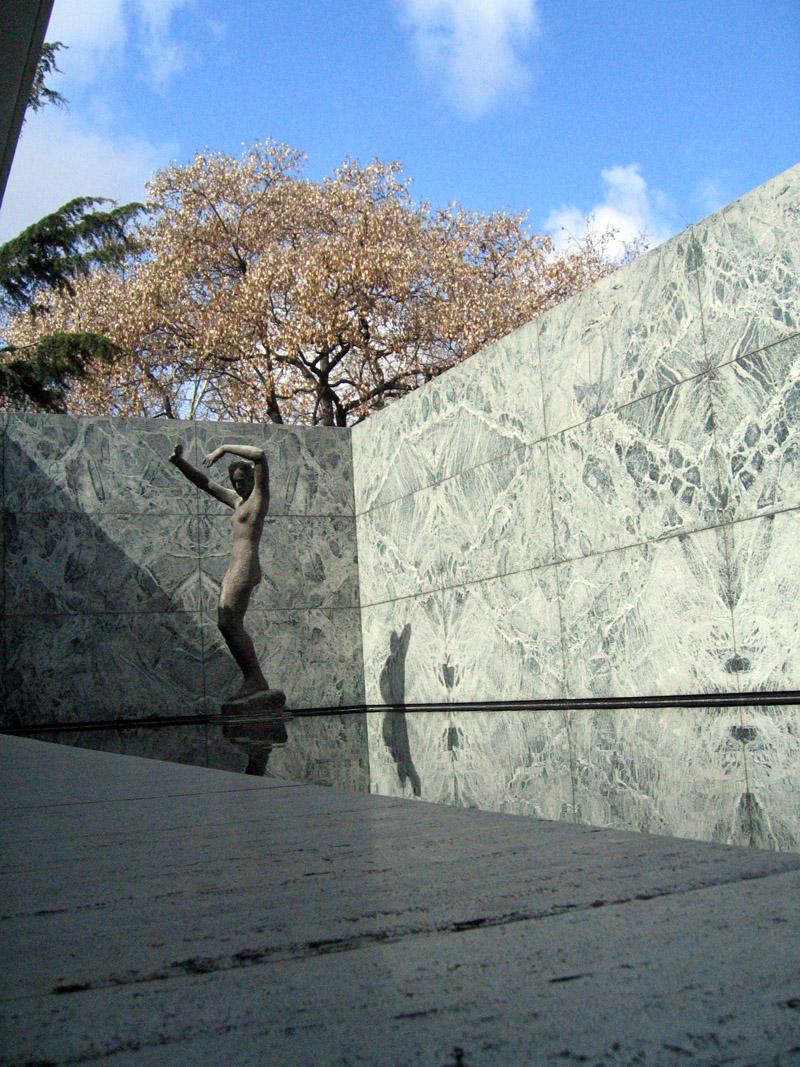
1929. The Barcelona Pavilion

And it did one morning when visiting the German National Pavilion for the 1929 Barcelona International Exhibition. Considered an example of Modern architecture, it was designed by Mies van der Rohe and reconstructed on its original site on Montjuïc in the 80's. It started here the story of an unknown city that won our heart. For the second time.

18.3.10

Wild, wild... rice!

Wild Rice Salad

Wild rice is not really rice. There you go. My favourite way to bring bad news is always to just say what I have to say, and then try my best to prove it's not actually that bad... Wild rice is in fact the seed of a plant, usually sold and cooked with (normal) rice. It's also my top ingredient of the moment - I *just* love it! Today's recipe is a salad. Easy to make, good with fish or meat as a side dish or on itself, eaten on the kitchen bench, with the music on and your mind elsewhere.

Wild rice Salad with Cashews
Adapted from Patricia Cornwell and Marlene Brown, Food to Die For - Secrets from Kay Scarpetta's Kitchen

Serves 4, as a side dish

½ cup wild rice (about 80g)
500 ml (2 cups) chicken or veggie broth
1½ tbsp olive oil
1 large green pepper, chopped
½ cup cashews, coarsely chopped
1 green onion, finely chopped

for the dressing:
1½ tbsp rice vinegar
1 tbsp olive oil
½ tbsp toasted sesame oil
½ garlic clove, very finely minced
salt and black pepper

lettuce leaves to serve

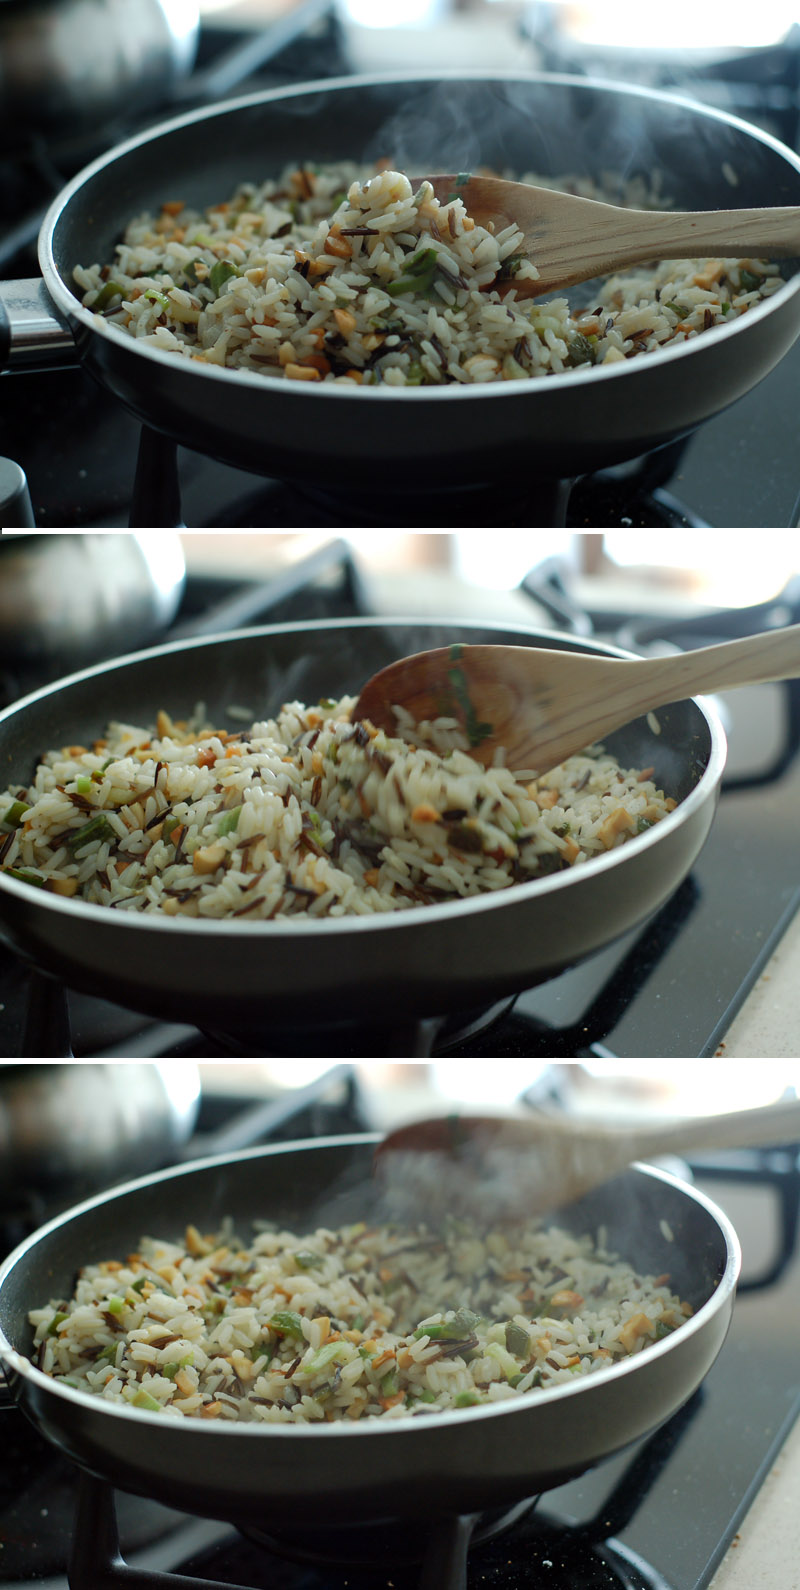
Wash and drain the wild rice. Heat broth in a medium pot. Cook rice until soft (follow the instructions on the packet for cooking times). In a large saucepan. heat olive oil. Add pepper and cook for 2-3 minutes. Add chopped cashews and green onion. Mix until cashews become golden. Remove from the heat. Add cooked wild rice and fold gently, just to mix everything.

To make the dressing, place all the ingredients in a jar with a lid. Put the lid on and shake vigorously until blended. Pour over the salad. Serve on lettuce leaves.